String Art Stitching
In this lesson students will create explore string art and the elements of line and shape in textiles. Students will design their own string art shape. They may choose to cover the positive or negative space and choose what colours they use in their design. Students will then stitch this design in card.
Lesson 1
Students look at examples of string art. Discuss the elements of line, shape and colour in the work.
Discuss how shape is created with the line and the impact of colour on the work.
Students will design their own string art work which will be stitched into a card.
Discuss using simple shapes (mostly silhouettes or outlines) and positive and negative space. Give students the option of stitching the negative or positive space in their design.
Note the negative space will take longer and more stitching as students will need to stitch a boarder.
Students draw their design on a piece of card using pencil.
Lesson 2
Students use a T pin to poke holes in their card on top of a sponge. Students ensure that they follow the outline of their drawing and that their pin holes are approximately 1 cm apart. Once the holes are in their card students thread a needle and stitch into the card to create their design. Students tie a knot at the end of their cotton and pull the needle through the holes in the card. They must stitch around the outline of their work and then stitch from hole to hole to fill in the space. Tie off the cotton and continue or change colours.
Lesson 3
Complete stitching.
What you’ll need:
Cardboard Square
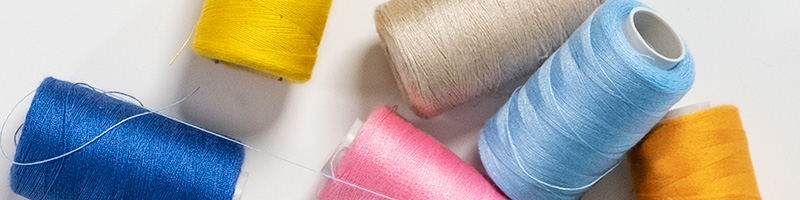
Coloured Cotton
Needle
Foam Block
T Pin
Lesson Plan:
Lesson Plan: String Art Stitching