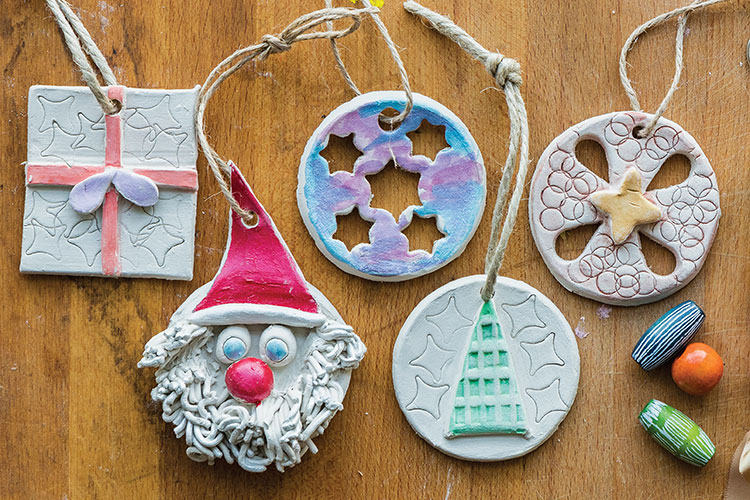
Clay Ornaments
Materials
Step 1. Roll out a 5mm-8mm slab of EC Air Drying Clay or Classroom Air Drying Clay.
Step 2. Cut out a circle shape approx. 8-10cm in diameter from the slab. TIP: Use a large biscuit cutter, or trace around the lip of a paper cup.
Step 3. Decorate the ornament: Press assorted objects and modelling tools into the clay to create texture and pattern. Create windows by cutting out shapes and designs using metal cutters. Cut shapes and model details out of the slab off-cuts, score joining sides and then press onto the ornament.
Step 4. Using a modelling tool, a straw or a skewer, make a hole at the top of your shape for a hanger. Allow ornament to dry (drying time depends on room temperature and thickness of ornament).
Step 5. Once dry, the ornament can be painted with shimmer glass paint or pearlescent watercolour paint. Leave some areas plain if desired, to show the natural clay.
Step 6. Thread jute string through the hole. Now this beautiful keepsake is ready to hang.